
I was feeling inspired to make some new jewelry this weekend and decided to create something from my favorite style combo
of rugged mixed with a little glam, but still simple. All supplies I was able to find at our local craft store, but I hope
to refine the design and then eventually use high quality gems, wire and suede for materials.
Supplies
For 1 bracelet
8.5" (length may vary depending on wrist) Silver and Gold Metallic 1/8" suede band (specifically for jewelry)
1 Diamond-esq shaped jem with two holes in setting (best if specifically for bracelets)
10" thin copper wire
2 metal loops for clasps
1 metal clasp
jewelry specific pliers (for turning wire and also cutting)

Guidelines
Cut suede to 8.5" or length that best fits your wrist.
Thread copper wire straight through two holes, cross over leather strap, then through last two holes as shown below.
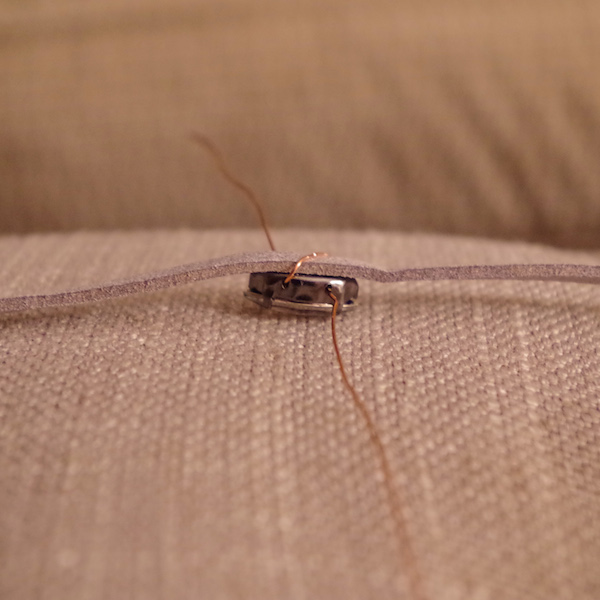
Make sure that each end of excess copper on either side of the gem is about even and begin to wrap each along the suede strap, then
use pliers to tuck ends between gem and strap so they are not scratchy on your skin. I ended up preferring less copper wrappings, so I cut a bit
off when I had the amount I liked. This part will take some practice and personal technique.
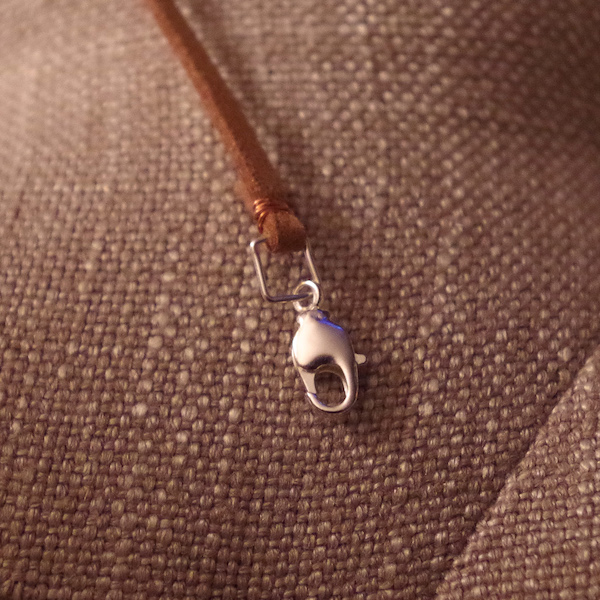
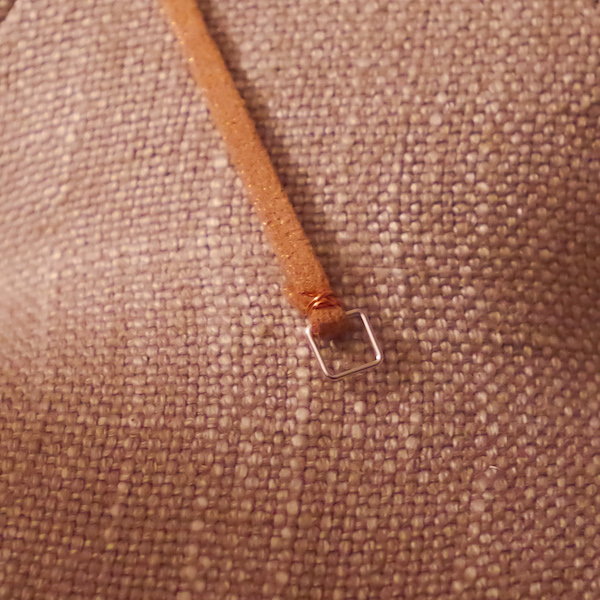
For the ends, I wasn't sure how to finish, so this will probably evolve as I find a better looking technique, but I folded
each end over the metal loop and then secured with a few wrappings of copper wire. One metal loop end will have the metal clasp.